
MILEMETAL · CRAFTS
CNC Machining for Decorative Hardware & Crafts
A well-made knob, handle or display fitting should feel as considered as it looks. MileMetal reviews custom metal and plastic components for decorative hardware, crafted products and small product collections.
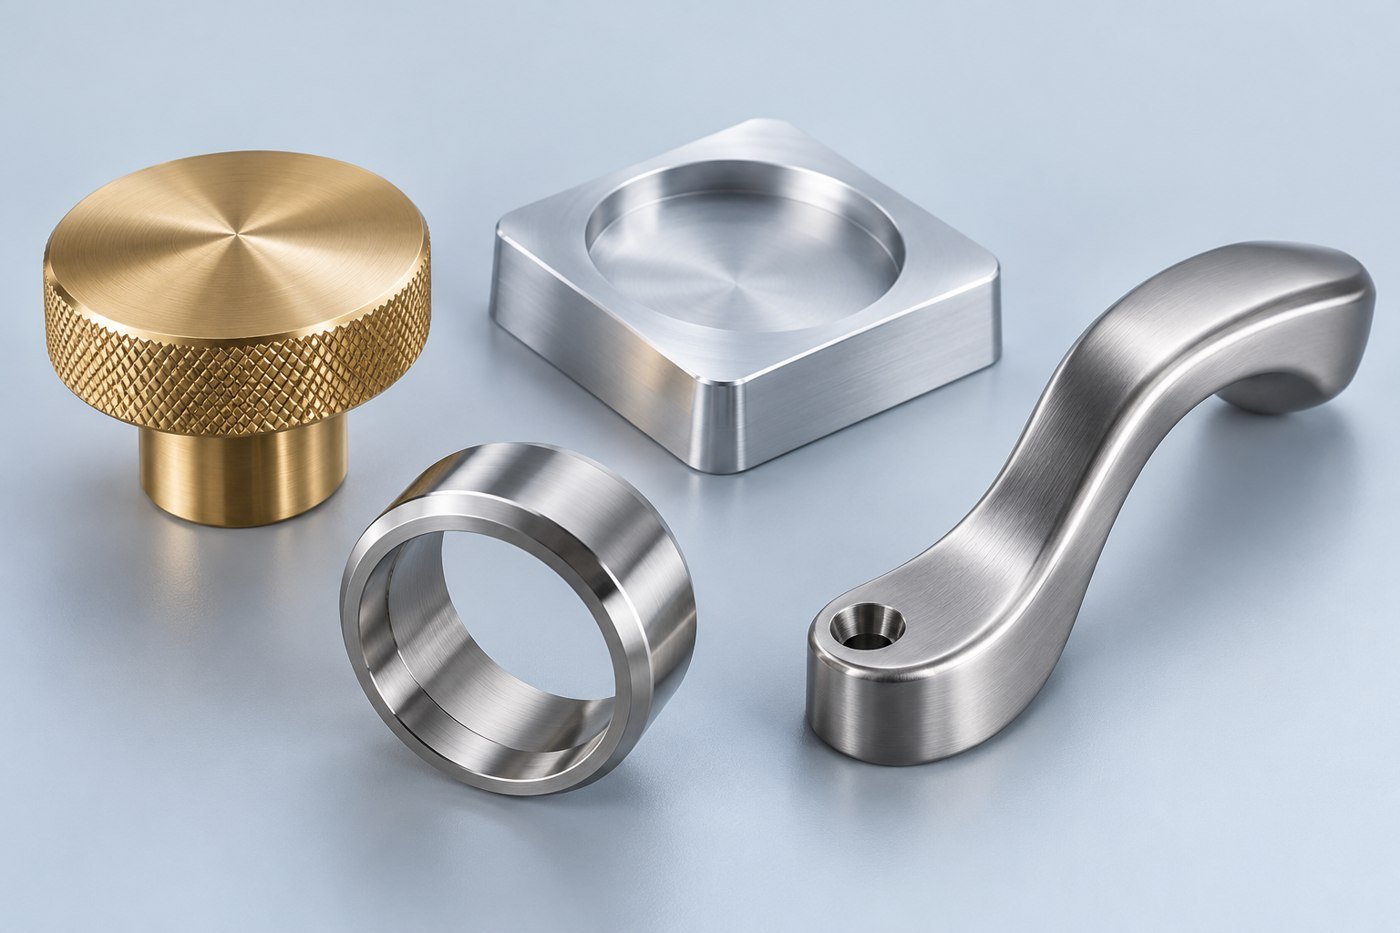
Translate the visual idea into a repeatable part
Decorative components sit between appearance and function. A knob has a visible face but also a bore that must fit; a handle needs a comfortable edge and a mounting pattern that lines up. Treating both sides of the design together makes the manufacturing brief much clearer.
Bring a model or drawing, plus photographs or samples that explain the desired appearance. Identify what belongs to the design itself and what is only inspiration. A production drawing should define dimensions and interfaces, while an agreed finish reference can guide the surfaces people will see and touch.
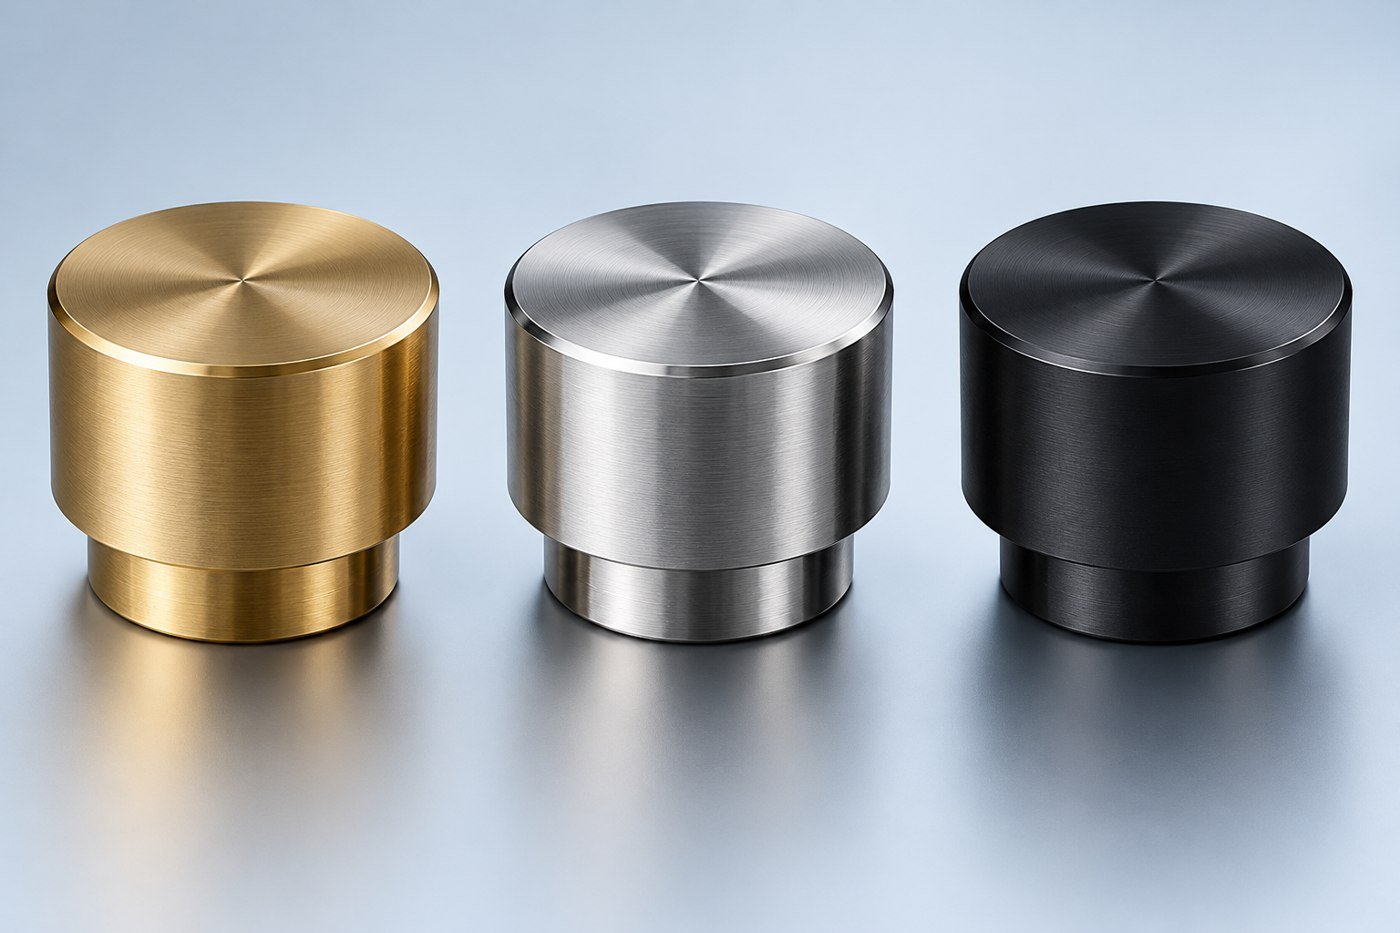
Describe the finish with a reference people can use
Words such as polished, matte or brushed are helpful starting points, but they leave room for interpretation. Specify the process where it is known, mark the visible surfaces and include a reference sample or image with notes about what matters.
Consider how the finish reaches edges, recesses and transitions. A decorative face may need different treatment from the hidden mounting surface. If a coating changes a close fit, define the acceptance condition and any areas that must be protected.
For a collection of matching parts, agree on the appearance acceptance method before the batch is made. Lighting, viewing conditions and an approved reference can make the discussion more concrete than a general request that every piece “look premium.”
FROM THE MILEMETAL MEDIA LIBRARY
Part forms and the work behind them
These existing product and workshop photographs show relevant geometries and manufacturing activities. They are separate examples, rather than a single customer project.

Finished control knob
A dark finished knob with a textured circumference and marked scale.

Decorative hardware forms
Hardware examples with curved profiles, holes and flat mounting surfaces.

Hinged hardware examples
A group of hinge-like fittings with repeated mounting features.

Small hardware collection
A selection of shaped and plated hardware components.
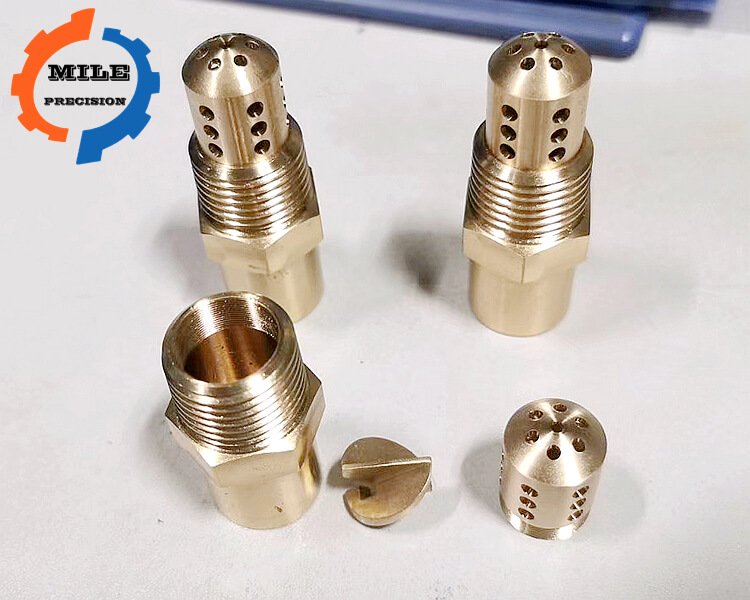
Detailed brass components
Brass parts combining threads, openings and turned profiles.

Turned brass fitting
A brass component with a broad circular face and threaded ends.
Where these components fit
Knobs and handles
Turned and milled forms can combine tactile surfaces with concealed mounting details. Define both the visible finish and the functional connection.
Display and presentation parts
Bases, rings, spacers and supports need stable interfaces and suitable surface protection. Include the surrounding display or object where it determines fit.
Small product collections
Matching metal components benefit from consistent part numbers, finish references and packaging. Separate dimensions for each size from shared appearance requirements.
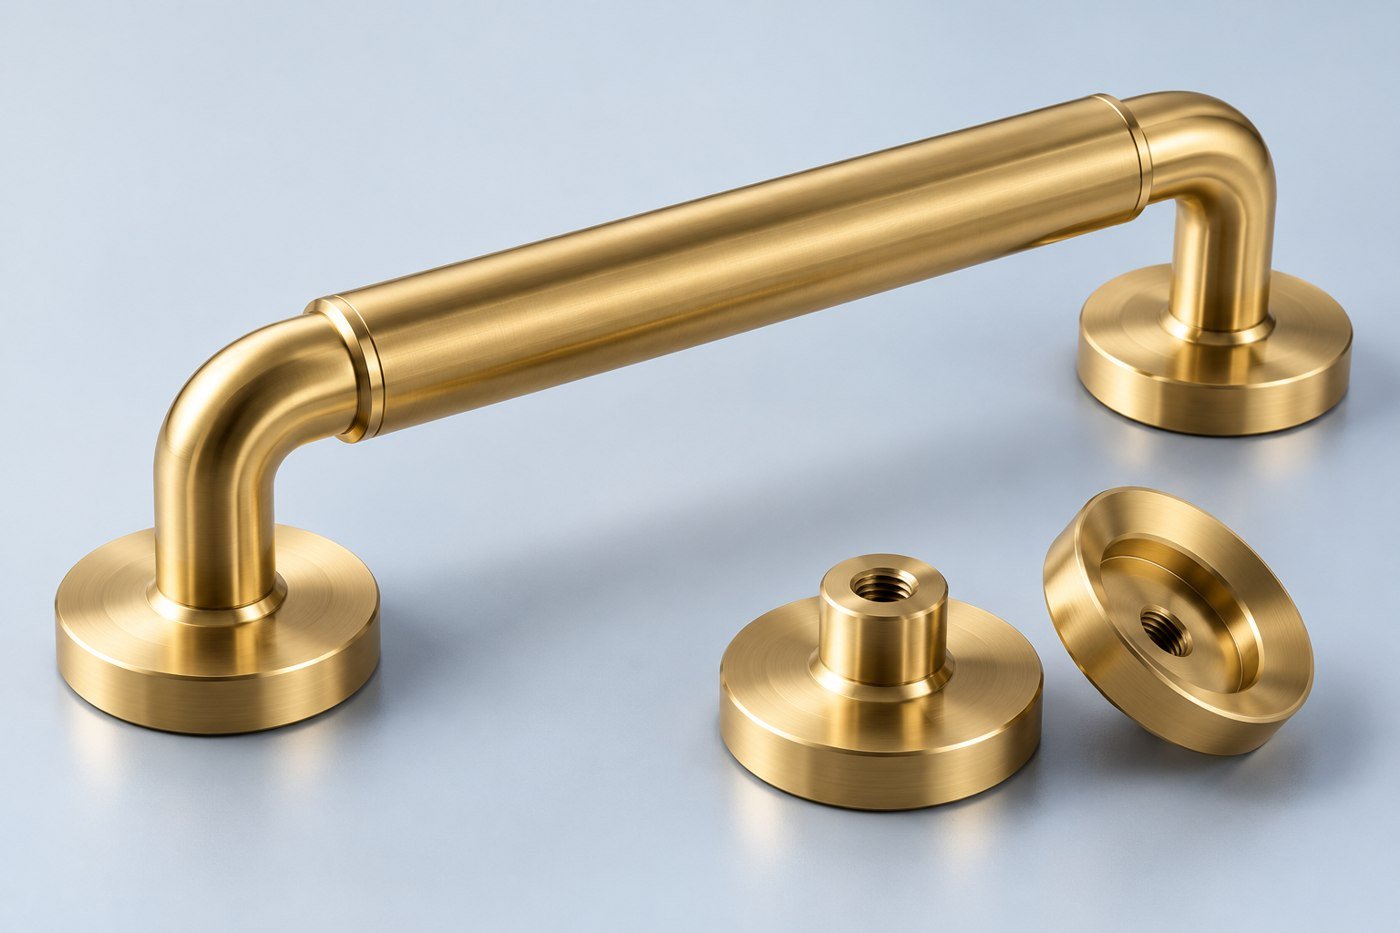
The hidden connection deserves the same care as the visible face
Mounting holes, tapped inserts and locating shoulders determine how a decorative component is installed. Show screw length restrictions and usable thread depth, particularly where a fastener must not reach a visible face. Include the mating product or panel thickness when it controls the connection.
Edges and transitions affect how a handled part feels. Define the intended chamfer or radius on contact areas instead of leaving all edge treatment to a general note. Keep decorative geometry distinct from dimensions that must match another component.
A handle, stand or fitting should also be reviewed for the loads and use expected by the designer. Appearance alone does not establish its mechanical suitability. Supply the relevant requirements so the manufacturing scope follows the product design.
Choosing the material and finish
The material contributes to color, feel and weight, but the final appearance also depends on the surface process. Choose the material and finish together, then confirm the functional details that must remain accurate after processing.
| Material to discuss | Typical component enquiry | Details to include |
|---|---|---|
| Brass, specified alloy | Knobs, handles and decorative fittings | State appearance, coating, machining interfaces and any material restrictions. |
| Aluminum, specified alloy | Bases, knobs, trim and lightweight components | Include color reference, texture, visible faces and finished fit requirements. |
| Stainless steel, specified grade | Handles, rings and selected fittings | Define surface treatment, edge feel and mounting geometry. |
| Engineering plastic or acrylic | Selected display and decorative components | Specify grade, optical or cosmetic expectations and handling requirements. |
Material availability and process scope are confirmed against your drawing and quotation. Include any restrictions on substitutions or approved sources.
The drawing details worth resolving early
Use the component’s function to decide what needs close control. The following details give the machining and inspection review a useful starting point.
| Feature | What to define | Why it helps |
|---|---|---|
| Visible surface | Marked faces and appearance reference | Creates a clear basis for cosmetic review. |
| Handled edge | Defined radius or chamfer | Makes the contact geometry intentional. |
| Hidden mounting | Thread, bore and usable engagement | Connects the decorative part to the product. |
| Matching variants | Individual dimensions and shared finish notes | Keeps a collection consistent without confusing sizes. |
| Packaging | Separated faces and protective materials | Reduces contact between finished surfaces in transit. |
Keep the approved appearance connected to the drawing
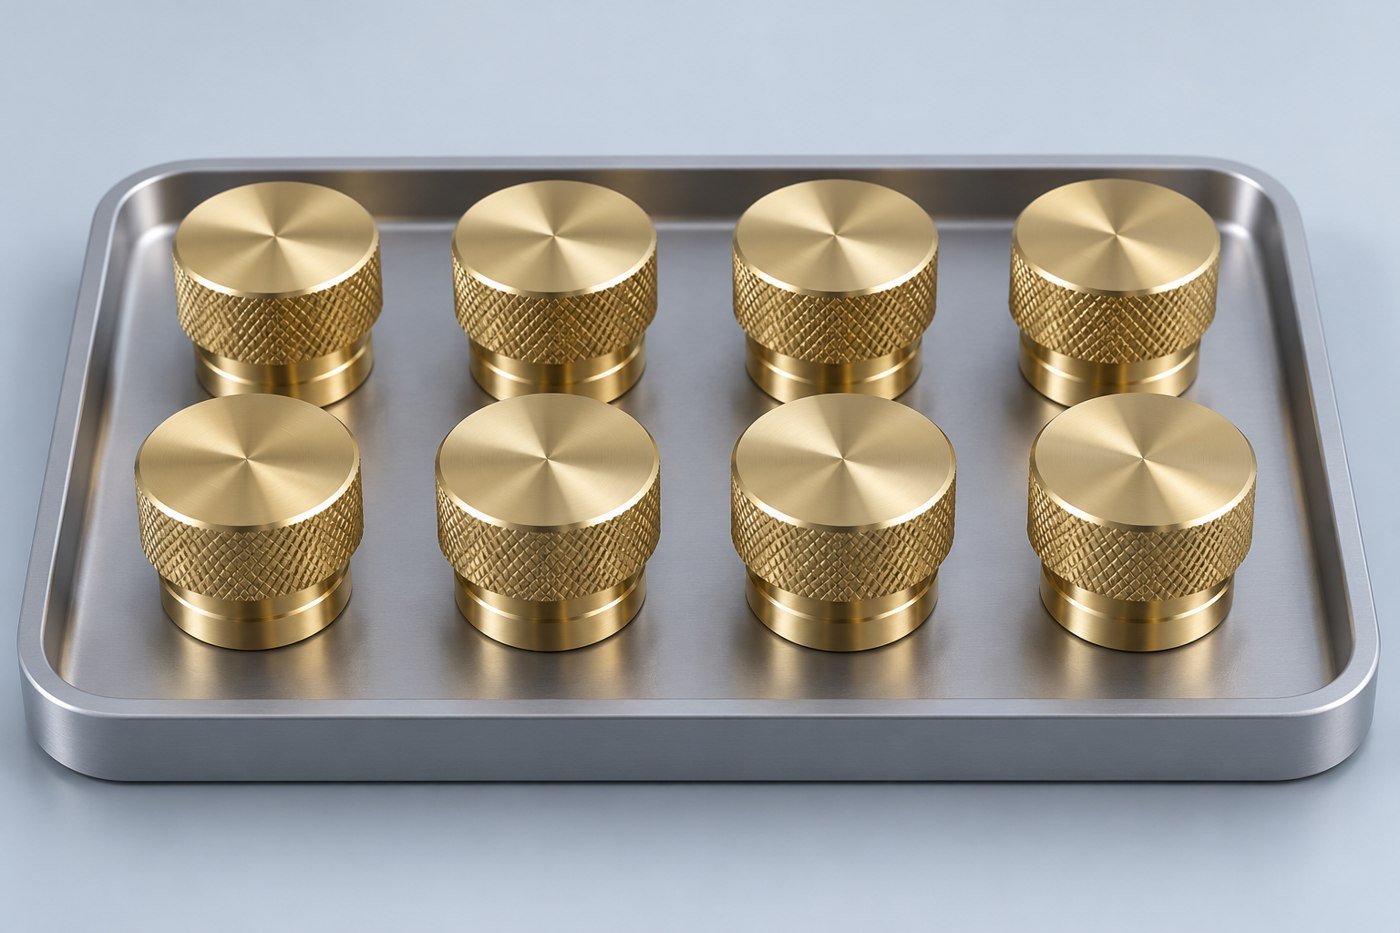
Once a sample is accepted, record the material, finish, visible-face definition and any revisions made during evaluation. Keep that information with the part number. A photograph of a finished piece is useful, but it should not be the only record of how it was specified.
For repeat orders, explain whether new parts will be sold separately or installed beside earlier batches. That affects how closely appearance needs to be assessed against the retained reference. Confirm packaging that separates surfaces likely to rub during shipping.
If a collection includes several related sizes, provide a distinct drawing or a clear size table for each variant. Shared styling should not leave the bore, thread or mounting pattern open to interpretation.
Inspection that follows the function of the part
Review appearance and dimensions as related but separate acceptance items. The mounting interface can be measured against the drawing, while visible surfaces should be compared using the agreed finish reference and conditions.
Before releasing a batch, confirm the approved sample details and packaging arrangement. Retaining a documented reference makes future orders easier to assess, especially when a product is supplied in several sizes or finishes.
Put numbers where they help the drawing
Clear callouts are easier to quote and inspect than a general request for “high precision.” The examples below show the format of a requirement, not recommended design values or a guarantee of machining capability.
| Characteristic | Illustrative format | Complete the definition |
|---|---|---|
| Critical size | 25.00 ±0.05 mm | Identify the feature and the condition in which it is accepted. |
| Surface texture | Ra 1.6 μm on a marked face | Define the area and any measurement requirements. |
| Flatness | 0.05 mm over a designated face | State the support condition and whether acceptance follows finishing. |
| Thread | Full designation, class and usable depth | Include blind-hole clearance and the required finished condition. |
Where the design depends on a purchased bearing, connector, motor or other mating part, include that interface information. It is usually more useful than tightening unrelated dimensions across the entire component.
A straightforward way to start
Send a STEP model and a dimensioned drawing with the material, finish, quantity and delivery needs. Add an assembly view when it explains a fit or an access constraint. We can then review the component and identify the open details needed for a quotation.
Before production, agree on the released revision, any secondary operations and the inspection records to be supplied. After a first build, keep approved changes in the same controlled file set. This gives the next order a clear starting point instead of a trail of disconnected notes.
Questions before your first order
Can you make a custom knob or handle?
Send the model or drawing, mounting details, material, quantity and finish reference. Include any dimensions that control installation or hand contact.
Can I quote from a sketch?
A sketch can begin the discussion, but production needs an approved definition of dimensions, material and finish. Identify any measurements that are still undecided.
How do I specify a brushed or polished finish?
Mark the visible surfaces and provide the process or appearance reference. Agree on the review method and any protected functional areas.
Will every alloy produce the same appearance?
No single appearance should be assumed across different materials. Specify the alloy and finish together and approve a representative reference when consistency matters.
Can one design be supplied in several sizes?
Yes. Give each variant a clear identifier and its own dimensions, while keeping shared finish requirements consistent.
How are decorative surfaces protected?
Define the packaging expectation with the order, including separation of visible faces and any surfaces that must not contact one another.
START A CONVERSATION
Let’s discuss your crafts components
Share your drawing package and tell us which parts you need first. Include the features that matter to the assembly so the quotation can address the work you actually need.