
MILEMETAL · STARTUPS
CNC Machining for Startups & Product Development
Your first machined parts should help you answer a useful design question. MileMetal works from your component drawings to support prototype builds, assembly checks and the move toward repeat production.
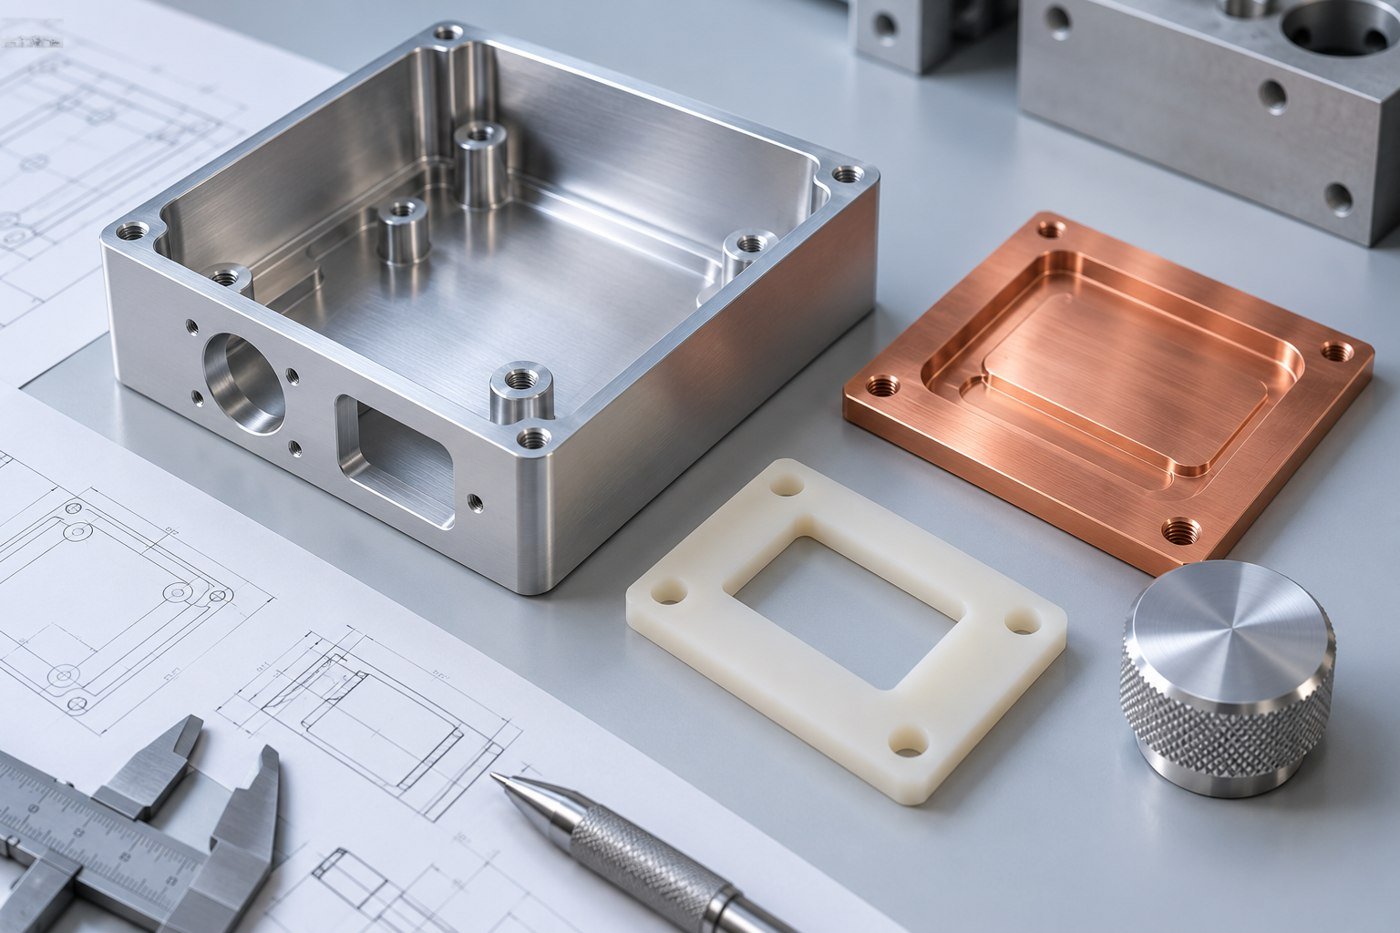
Decide what the next build needs to prove
A prototype for a customer demonstration is different from one intended for a fit check or a functional test. Before requesting a quote, write down what you need to learn. That short explanation helps identify which material, finish and dimensions are essential now and which requirements belong to a later build.
You do not need to pretend the product is finished. Send the current files with a clear revision and identify any open decisions. We can review the machining scope and the details needed to quote. Design ownership stays clear, while manufacturing questions are raised before they become expensive changes to physical parts.
Use the assembly to explain the part
A standalone STEP model describes shape, but it may not explain why a hole or surface matters. Include the board, bearing, connector or fastener that controls the interface, or provide a simple assembly view. The goal is to make the critical relationships visible.
A dimensioned drawing should carry the information the solid model does not: tolerances, threads, material, finish and inspection notes. Highlight features that must be checked during the first build. This keeps a prototype order focused on the questions that led you to make it.
When several founders or engineers are sharing files, use one released package for the supplier. A model from one revision and a drawing from another can create ambiguity even when each file looks complete on its own.
FROM THE MILEMETAL MEDIA LIBRARY
Part forms and the work behind them
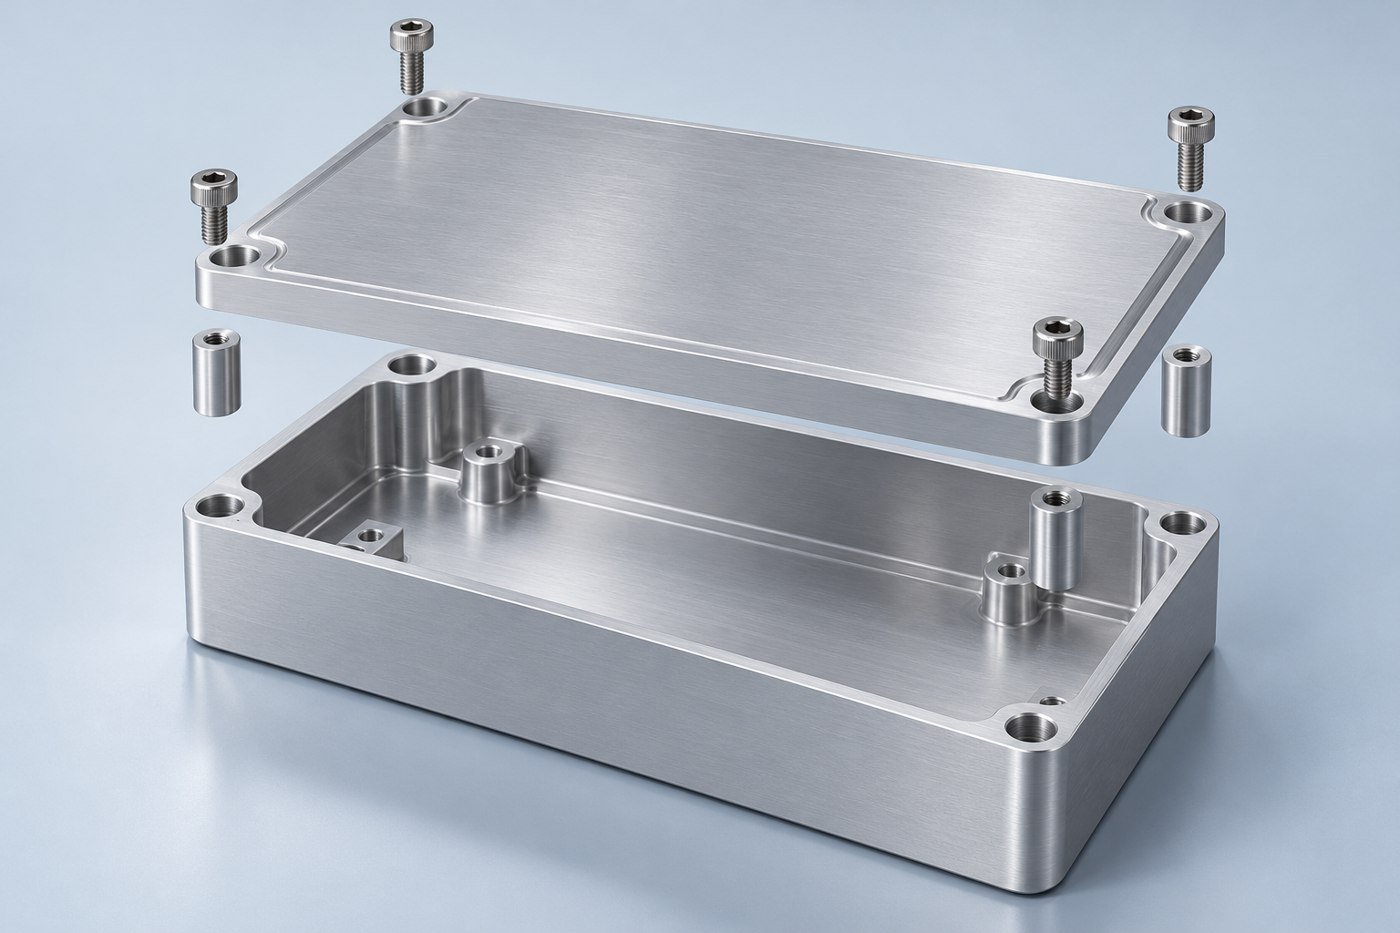
These existing product and workshop photographs show relevant geometries and manufacturing activities. They are separate examples, rather than a single customer project.

Prototype housing form
A compact housing with a circular opening and mounting holes.

Housing with side access
A machined housing showing openings and stepped side geometry.

Engineering plastic parts
Colored polymer component examples from the existing library.

Transparent component
A transparent machined component with multiple interfaces.
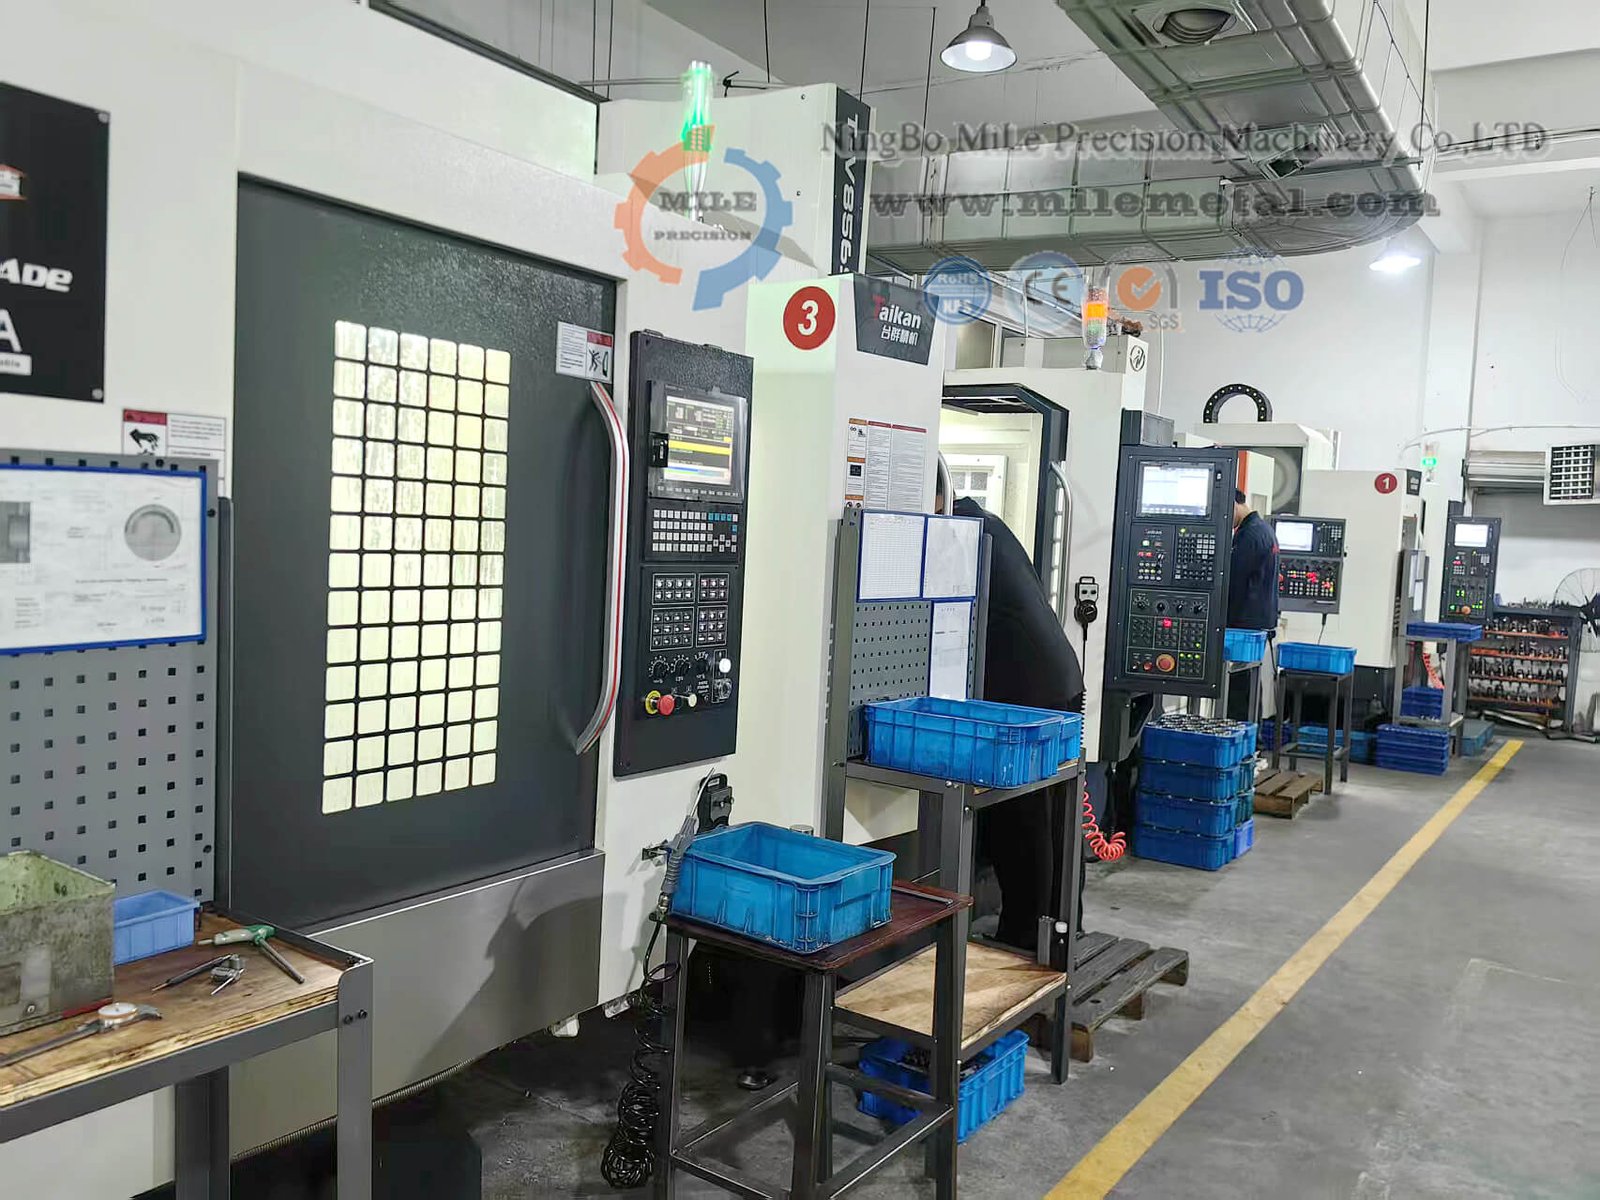
Machining workshop
A view of CNC equipment in the MileMetal workshop.

Dimensional measurement
Several views of components being checked with measuring equipment.
Where these components fit
Fit and packaging prototypes
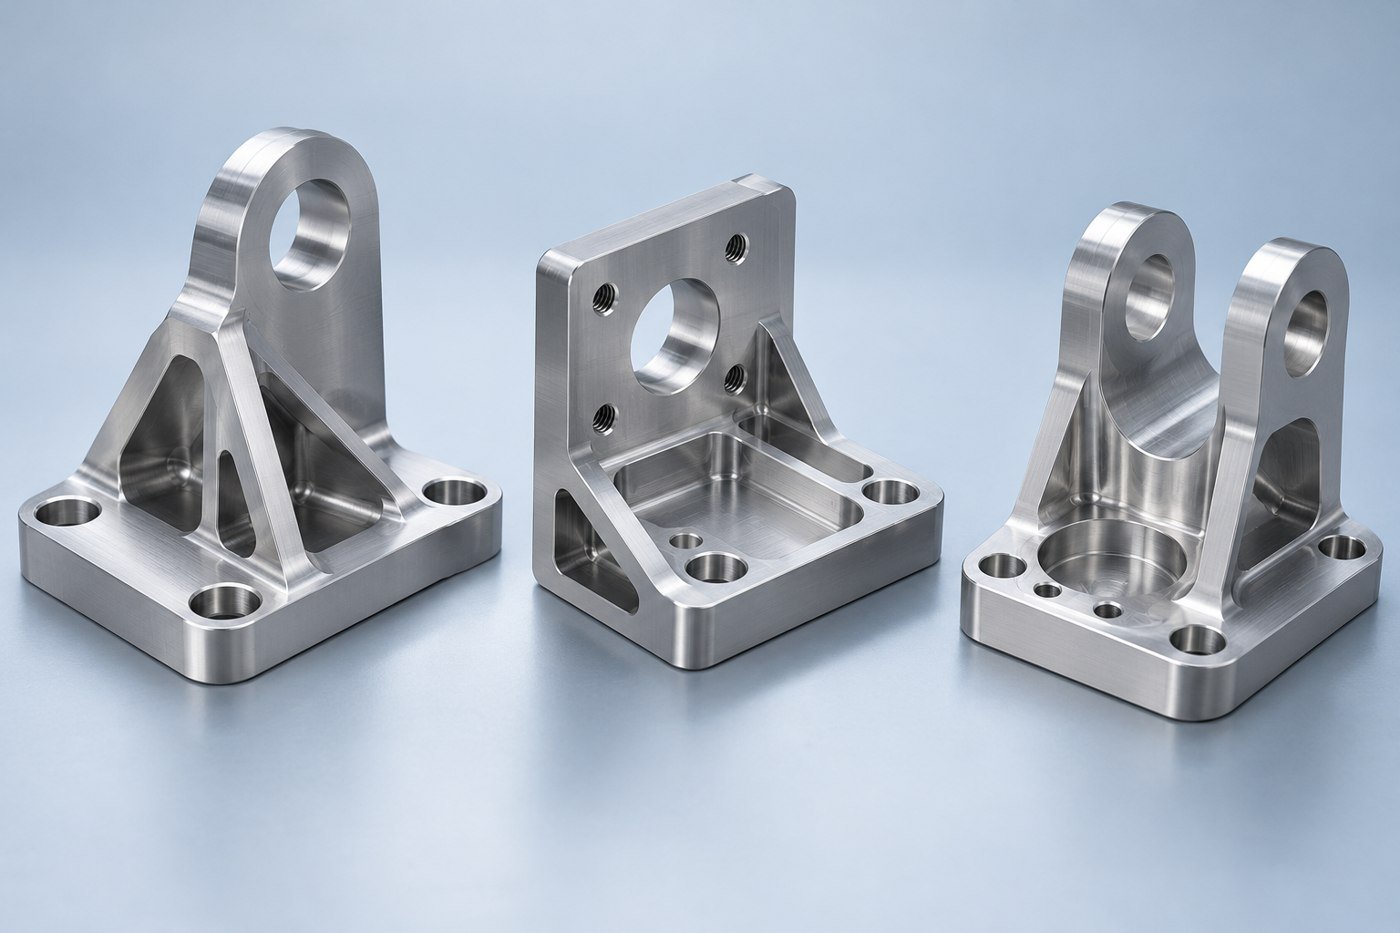
Housings, brackets and mounting plates can help check space, access and assembly order. Clearly identify any features or materials that differ from the intended product.
Functional development parts
When a test depends on material or surface condition, the prototype should represent those requirements. Include the test-relevant interfaces in the drawing package.
Pilot and small batches
A first repeat order checks whether the approved definition supports consistent assembly. Confirm revisions, finish references, inspection records and packaging before release.
Make each revision an intentional step
After a first assembly, you may want to move a connector, increase a wall clearance or change a mounting pattern. Record those changes in the CAD files and update the drawing revision. A short change note helps identify what needs another manufacturing or inspection review.
Changing several unrelated things at once can make test results harder to interpret. Where practical, link the next build to a specific question: does the bracket fit, can the cover be removed, or does the selected finish meet the appearance target? That makes the cost of the prototype easier to justify.
If a cheaper material or simplified feature is proposed for an early fit model, document the difference from the intended product. The evaluation should reflect what that prototype represents. Do not let a temporary choice become the production requirement by accident.
Choosing the material and finish
Select the material for the purpose of the build. An appearance model, a fit model and a functional prototype may need different specifications. If an alternative is acceptable, say exactly which properties or interfaces must remain representative.
| Material to discuss | Typical component enquiry | Details to include |
|---|---|---|
| Aluminum, specified alloy | Enclosures, brackets and prototype structures | Define functional fits, finish and whether the material represents production intent. |
| Stainless or alloy steel | Shafts, loaded parts and durable interfaces | Include material condition and any secondary processing. |
| Brass or copper | Conductive, thermal and decorative components | Specify the grade and the surfaces that matter in evaluation. |
| Engineering plastic, specified grade | Guides, spacers and housing components | Identify test conditions and restrictions on material substitutions. |
Material availability and process scope are confirmed against your drawing and quotation. Include any restrictions on substitutions or approved sources.
The drawing details worth resolving early
Use the component’s function to decide what needs close control. The following details give the machining and inspection review a useful starting point.
| Feature | What to define | Why it helps |
|---|---|---|
| File revision | Matching model and drawing identifiers | Prevents the supplier from combining different design states. |
| Critical interface | Mating geometry and acceptance limits | Connects manufacturing detail to the prototype’s purpose. |
| Temporary simplification | Explicit difference from production intent | Keeps test conclusions tied to the actual prototype. |
| Appearance requirement | Visible faces and an agreed reference | Avoids relying on an undefined request for a premium finish. |
| Batch release | Approved files, quantity and inspection needs | Gives the repeat order a stable starting point. |
Prepare for the second order while reviewing the first
A successful prototype is a useful milestone, but repeat production needs a stable definition. Confirm the approved material, finish, dimensions and packaging before ordering the next batch. Identify any features that were adjusted by hand during the first assembly.
Share expected quantities as ranges if demand is still uncertain. A small trial order and a later production order may have different preparation needs, so ask for those stages to be reviewed separately. Avoid assuming that the first quoted route will remain the best fit for every quantity.
Keep accepted samples, inspection notes and released files connected to the same part number. That record becomes especially valuable when the team grows or a new person takes responsibility for purchasing.
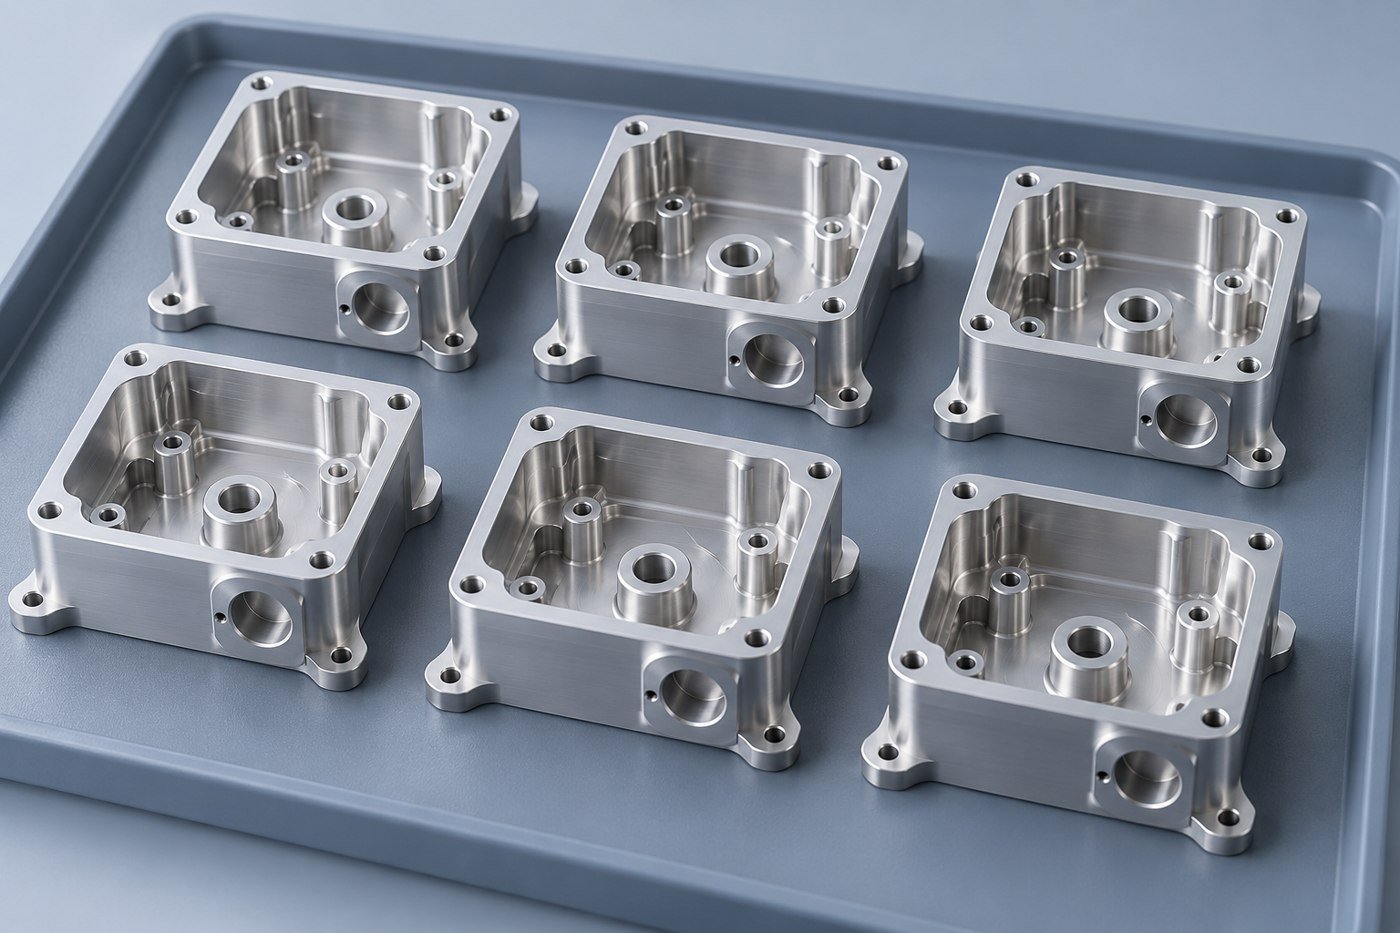
Inspection that follows the function of the part
For the first build, request measurements that help answer your design question. A report on the board mounting pattern or bearing fit may be more useful than a long list of noncritical dimensions. Agree on the reporting scope before ordering.
Use the evaluation to close open decisions, then release the changes. Production should follow an approved definition rather than a collection of prototype comments spread across messages.
Put numbers where they help the drawing
Clear callouts are easier to quote and inspect than a general request for “high precision.” The examples below show the format of a requirement, not recommended design values or a guarantee of machining capability.
| Characteristic | Illustrative format | Complete the definition |
|---|---|---|
| Critical size | 25.00 ±0.05 mm | Identify the feature and the condition in which it is accepted. |
| Surface texture | Ra 1.6 μm on a marked face | Define the area and any measurement requirements. |
| Flatness | 0.05 mm over a designated face | State the support condition and whether acceptance follows finishing. |
| Thread | Full designation, class and usable depth | Include blind-hole clearance and the required finished condition. |
Where the design depends on a purchased bearing, connector, motor or other mating part, include that interface information. It is usually more useful than tightening unrelated dimensions across the entire component.
A straightforward way to start
Send a STEP model and a dimensioned drawing with the material, finish, quantity and delivery needs. Add an assembly view when it explains a fit or an access constraint. We can then review the component and identify the open details needed for a quotation.
Before production, agree on the released revision, any secondary operations and the inspection records to be supplied. After a first build, keep approved changes in the same controlled file set. This gives the next order a clear starting point instead of a trail of disconnected notes.
Questions before your first order
Do I need a complete product design to request a quote?
You can request a quote for the parts that are defined. Provide current models, drawings and quantities, and identify decisions that remain open.
Can I start with just one development stage?
Yes. Describe the immediate build and any likely later quantities so the stages can be reviewed separately.
What if I only have a STEP file?
Send it for an initial review, then supply or agree the missing drawing requirements such as tolerances, threads, material and finish before production.
Can a prototype use a different material?
It can if your engineering evaluation allows it. Record the difference and make sure the test does not rely on properties the substitute cannot represent.
How do I handle a design change after quoting?
Send a new revision with a concise change description. Manufacturing scope, cost and timing should be reviewed against the revised files.
What should I prepare for repeat orders?
Keep the approved model, drawing, material, finish reference and inspection requirements together under a released part number and revision.
START A CONVERSATION
Let’s discuss your startups components
Share your drawing package and tell us which parts you need first. Include the features that matter to the assembly so the quotation can address the work you actually need.