
CMM Inspection for CNC Machined Parts: Process, Reports and Quality Control
2026-06-08
Die Casting Design Guide: Materials, Defects, Tolerances and CNC Finishing
2026-06-09
How to Prepare Engineering Drawings for CNC Machining
A 3D CAD model shows the ideal shape of a part, but an engineering drawing defines the manufacturing rules: tolerances, material, threads, surface finish, inspection requirements and revision control. This guide explains how to prepare clear technical drawings for CNC machined parts so suppliers can quote faster and make parts correctly.

Why Engineering Drawings Still Matter in CNC Machining
Modern CNC machining uses digital files, CAM software and 3D models, but a model alone is not enough for professional manufacturing. The model usually defines nominal geometry. The drawing defines what variation is acceptable, which features are critical, how the part should be inspected and what finish or material condition is required.
For custom CNC parts, the drawing is also the main communication document between the engineer, buyer, machinist and quality inspector. If a part does not assemble or a feature is rejected during inspection, the drawing is the reference used to decide whether the part meets the requirement.
Clear drawings reveal tight tolerances, special materials, threads, finishing and inspection needs that affect price.
Machinists use drawings to understand datums, critical surfaces, hole requirements and feature relationships.
Inspectors use drawings to confirm dimensions, GD&T, surface finish, threads and functional requirements.


Key Components of a CNC Engineering Drawing
A good engineering drawing is not simply a screenshot of the part. It is a structured manufacturing document. It should show enough geometry to identify the part, enough dimensions to manufacture and inspect it, and enough notes to remove uncertainty about material, finish, standards and revision status.
| Drawing element | Purpose | What to include for CNC machining |
|---|---|---|
| Title block | Identifies the document and revision | Part name, drawing number, revision, material, units, scale, projection method, author and approval date |
| Orthographic views | Shows the part from standard directions | Front, top and side views that make dimensions easy to read |
| Section views | Reveals internal geometry | Cross sections for bores, pockets, counterbores, internal grooves and hidden features |
| Detail views | Magnifies small or crowded features | Small holes, slots, chamfers, threads, grooves, thin ribs and precision seats |
| Dimensions | Defines size and location | Overall size, hole locations, depths, diameters, radii, chamfers and critical functional distances |
| Tolerances | Defines acceptable variation | General tolerance note plus feature-specific tolerances for critical dimensions |
| GD&T | Controls form, orientation and position | Datums, position, flatness, perpendicularity, profile, runout and concentricity where needed |
| Notes block | Gives manufacturing instructions | Deburring, edge break, surface finish, heat treatment, coating, inspection and packaging notes |
2D Drawing and 3D CAD Model: Use Both
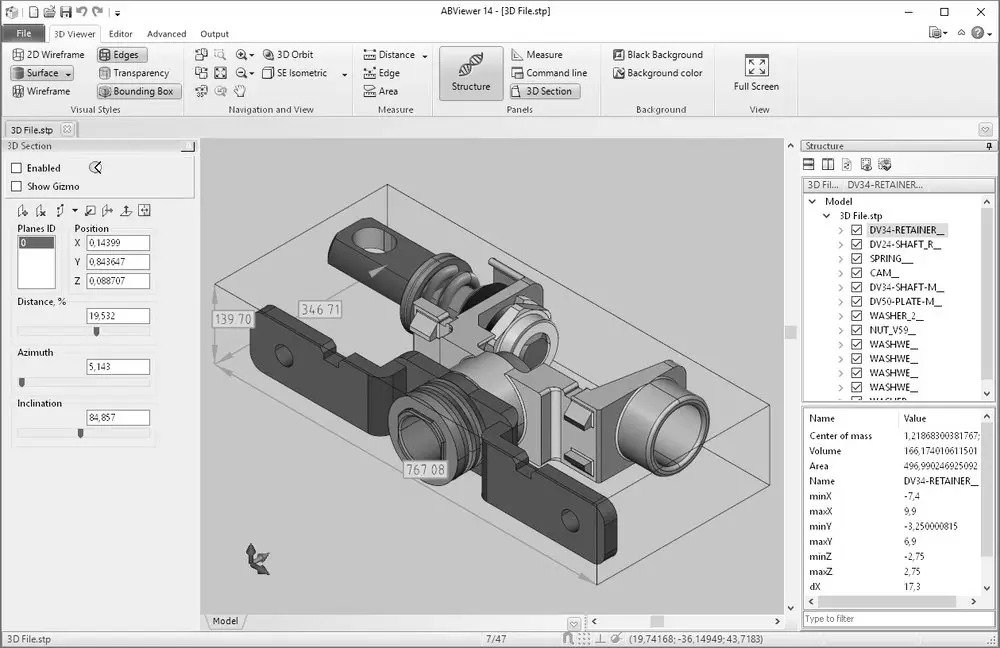
For CNC machining, the best quotation package normally includes both a 3D model and a 2D drawing. The 3D model helps the supplier review shape, tool access and CAM strategy. The 2D drawing controls manufacturing requirements that are not always visible in the model, including tolerances, threads, material condition, surface finish and inspection notes.
3D CAD model
- Defines nominal geometry for CAM programming.
- Helps identify tool access and machining setups.
- Useful for complex surfaces, pockets and multi-axis features.
- Should be supplied as STEP, IGS, X_T or another neutral CAD format.
2D technical drawing
- Defines tolerances, datums and critical dimensions.
- Specifies material, finish, threads and heat treatment.
- Controls inspection method and acceptance criteria.
- Provides revision control for purchasing and quality records.
Common Types of Engineering Drawings
Different engineering drawings serve different purposes. A single CNC machined part may only need a part drawing and a 3D model. A multi-part product, fixture, valve assembly, gearbox, instrument housing or automated equipment module may also need assembly drawings, exploded views and a bill of materials. Supplying the right drawing type helps the manufacturer understand not only the part shape, but also how it fits into the larger product.
| Drawing type | Main purpose | When it is useful | Typical contents |
|---|---|---|---|
| Part drawing | Defines one individual component | Most CNC machined parts, turned parts, plates, brackets, shafts and housings | Views, dimensions, tolerances, material, finish, threads, notes and inspection requirements |
| Assembly drawing | Shows how multiple parts fit together | Products with fasteners, bearings, pins, seals, inserts, shafts or moving interfaces | Item numbers, mating relationships, critical clearances, fastener locations and assembly notes |
| Exploded view drawing | Separates parts visually to show order and orientation | Assemblies that need clear installation sequence or service documentation | Exploded components, balloons, item numbers, fasteners, washers, seals and direction of assembly |
| BOM / bill of materials | Lists every item required for an assembly | Any purchased or manufactured assembly with multiple components | Item number, part number, description, material, quantity, finish, supplier or revision |
| Manufacturing drawing | Gives process-specific details for production | Parts requiring machining allowance, welding, plating, heat treatment or special operations | Operation notes, machining datums, process dimensions, finish sequence and inspection points |
| Inspection drawing | Highlights dimensions that must be checked | FAI, CMM reports, PPAP-like packages and high-reliability parts | Numbered inspection features, datum setup, tolerance limits and report references |
For quoting, a part drawing answers “how to make this component.” An assembly drawing answers “how this component must work with the surrounding parts.” Both are valuable when fit, motion, sealing or alignment is important.
Important Drawing Views and When to Use Them
A technical drawing should use the minimum number of views needed to communicate the part clearly. Too few views create ambiguity; too many repeated views make the drawing harder to read. The best view layout depends on whether the part is prismatic, round, thin-walled, internally complex or part of an assembly.
| View type | What it shows | Best use in CNC machining |
|---|---|---|
| Front, top and side views | Standard orthographic geometry | Basic part size, hole positions, slots, bosses, shoulders and outside profiles |
| Section view | Internal geometry cut through the part | Bores, counterbores, wall thickness, internal grooves, blind holes and stepped pockets |
| Detail view | Enlarged small area | Small threads, tiny radii, chamfers, sealing grooves and closely spaced holes |
| Auxiliary view | A feature viewed perpendicular to an angled surface | Angled holes, inclined faces, sloped slots and non-orthogonal machining features |
| Isometric view | 3D visual reference | Helps buyers, machinists and inspectors quickly understand part orientation |
| Exploded view | Separated components in assembly order | Shows installation direction, fastener order, spacers, seals and replaceable components |
For CNC machining, section views are especially useful when internal features are not obvious from the outside. Detail views are useful when a small tolerance, thread or groove is important but would be difficult to read at normal scale. Isometric views are usually not used for final inspection dimensions, but they reduce misunderstanding during quotation and production review.
Assembly Drawings, Exploded Views and BOM Tables
When a machined part belongs to an assembly, its drawing should not be considered in isolation. A shaft may need to fit a bearing, a housing may need to align with a cover, and a bracket may need to leave clearance for a cable or fastener. Assembly-level information helps the supplier understand which dimensions are truly functional.
Assembly drawings
An assembly drawing shows how parts connect, align and move together. It may include section views through bearings, pins or seals, notes about press-fit direction, torque requirements, adhesive use, welding, lubrication or adjustment. For CNC suppliers, an assembly drawing is valuable because it explains why certain tolerances, surface finishes or datum features matter.
Exploded views
An exploded view separates components visually while keeping their assembly order. This is useful for products with many small parts, such as spacers, washers, O-rings, inserts, dowel pins and fasteners. It can prevent orientation mistakes and makes replacement parts easier to identify.

BOM table essentials
- Item number that matches balloons in the assembly drawing.
- Part number and revision level for each component.
- Part name or description.
- Material and surface treatment where relevant.
- Quantity required per assembly.
- Purchased part or custom manufactured part status.
- Special notes such as heat treatment, plating, sealing or packaging.
If the BOM says one part is stainless steel and the individual part drawing says aluminum, production will stop for clarification. To avoid this, part drawings, assembly drawings and BOM tables should use the same part numbers, revisions, quantities and material descriptions.
Engineering Drawing Checklist for CNC Machined Parts
Before sending a drawing for quotation, check whether the supplier can understand the part without asking basic questions. Missing information often causes quote delays, manufacturing assumptions, rework or inspection disputes.
Choose views
Use front, top and side views, then add section or detail views where hidden features need clarity.
Add dimensions
Dimension all functional features, but avoid duplicate or conflicting dimensions.
Define tolerance
Use a general tolerance note, then add tighter callouts only to critical features.
Review notes
Confirm material, finish, edge breaks, inspection, packaging and revision information.
| Checklist item | Good practice | Risk if missing |
|---|---|---|
| Units | State mm or inch clearly in the title block | Wrong scale or wrong manufacturing assumption |
| Projection method | Show first-angle or third-angle projection symbol | Views may be interpreted incorrectly |
| Material | Specify grade and condition, such as 6061-T6, 304 stainless steel or C360 brass | Wrong material performance or machining behavior |
| General tolerances | Use ISO 2768, company standard or a clear title block tolerance | Non-critical dimensions become ambiguous |
| Critical tolerances | Call out bearing fits, sealing surfaces, pin holes and datum features individually | Parts may look correct but fail assembly |
| Threads and holes | Define thread type, depth, countersink, counterbore, ream and fit requirements | Incorrect fastener fit or weak thread engagement |
| Surface finish | Specify Ra values only where the surface function requires it | Over-polishing cost or poor sealing/sliding performance |
| Surface treatment | State anodizing, plating, passivation, heat treatment or coating requirements | Final dimensions and appearance may not match expectations |
| Inspection needs | Request CMM report, FAI report or normal inspection when needed | Supplier and customer may measure differently |
How to Specify Holes, Threads and Fits
Holes and threads are common sources of drawing errors because they often combine size, depth, location, fit and finishing requirements. A simple hole diameter may not be enough if the feature must locate a pin, accept a bearing, seal fluid or hold a screw under load.
Specify thread type, pitch, class, thread depth and whether the hole is blind or through.
Use fit symbols such as H7, reamed hole notes or specific diameter tolerance for locating pins and bushings.
Define diameter, depth and angle so fasteners sit at the correct height.
Common Engineering Drawing Mistakes
Many drawing problems are small, but they can lead to major production delays. The most expensive mistakes usually happen when critical functions are implied instead of clearly specified.
| Mistake | Why it matters | Better approach |
|---|---|---|
| Sending only a 3D model | No clear tolerance, material, finish or inspection requirement | Send a 2D drawing together with the CAD model |
| Over-tolerancing every feature | Increases machining and inspection cost without improving function | Apply tight tolerance only to functional interfaces |
| Missing datums | Position and orientation cannot be inspected consistently | Define datum features that match assembly function |
| Unclear surface finish | Supplier may use normal machined finish where sealing or sliding needs better roughness | Specify Ra values on functional surfaces |
| Missing post-treatment notes | Anodizing, plating or heat treatment may change dimensions and appearance | State treatment, color, thickness and whether dimensions apply before or after finishing |
| No revision control | Old and new drawings may be mixed during quoting or production | Use drawing number, revision level and date in the title block |
FAQ: Engineering Drawings for CNC Machining
Is a 3D CAD model enough for CNC machining?
For simple prototypes it may be enough, but for professional CNC parts a 2D drawing is strongly recommended. The drawing defines tolerances, material, threads, finish and inspection requirements that may not be fully represented in the 3D model.
What file formats should I send to a CNC supplier?
Send a PDF drawing for controlled manufacturing requirements and a STEP, IGS or X_T model for geometry and CAM programming. If the part is complex, include both 2D and 3D files.
Should every dimension have a tight tolerance?
No. Use general tolerances for non-critical dimensions and tighter tolerances only where fit, sealing, motion, alignment or inspection risk requires them.
What should be included in the title block?
A practical title block includes part name, drawing number, revision, units, scale, projection method, material, general tolerance, author, approval and date.
When do I need an assembly drawing?
An assembly drawing is useful when multiple parts must fit, move, seal, align or be installed in a specific order. It helps the supplier understand mating parts, functional interfaces, critical clearances, fastener locations and assembly direction.
What is the difference between an exploded view and a BOM?
An exploded view is a visual drawing that shows how parts separate and assemble. A BOM, or bill of materials, is a table that lists each item, part number, quantity, material and revision. For assemblies, they should work together: balloons in the exploded view should match item numbers in the BOM.
Should CNC machined parts include an isometric view?
An isometric view is not always required for inspection, but it is very helpful for understanding orientation and complex geometry. It should support the orthographic and section views, not replace proper dimensions and tolerances.
Need help reviewing a CNC engineering drawing?
Send your 2D drawing and 3D model. Milemetal can review material, tolerances, surface finish, threads, inspection requirements and manufacturability before production.

